Thursday, February 28, 2013

Chicken Parmesan

Ah, Chicken Parmesan.  Who doesn't love it?  If you don't love it then you've never had it.  Crispy chicken topped with Parmesan, served over pasta and covered with sweet and tangy marinara.  Serve with a salad and some bread and you'll feel just like Giada de Laurentiis.

Some key ingredients here:

Parmesan Cheese!  Obviously this is important, being one of the title ingredients.  If you really want this to be great, buy the BLOCK of Parmesan, not the stuff in the green can.  Here's what it looks like:


In my beloved Publix, it's in the deli section of the store (not the normal cheese section).  It is not cheap, but it will last a while. And it's so much better in every way.  Probably because you're eating actual cheese instead of some chemically-enhanced cheese powder business.  Kinda gross once you think about it.

Panko!


AKA Japanese breadcrumbs.  These add a delicious, light crispiness that is key to the texture of this dish and so many others.  Pick some up, you'll love em.

And if you don't know, now you know.

Chicken Parmesan


Ingredients:

3 large boneless skinless chicken breasts (mine totaled 2.3 lbs)
1 cup all purpose flour
1 egg, beaten
1 1/2 cups Panko bread crumbs
2 Tbsp butter
2 Tbsp olive oil
1 medium sweet onion, diced
3 to 4 cloves garlic, minced
3/4 cup red wine
2 28 oz cans crushed tomatoes
1 Tbsp sugar
salt & pepper to taste
1 cup fresh parsley, chopped
1 cup fresh grated Parmesan cheese (plus more for garnish)


The first step is to prepare your chicken.  Cut each breast in half lengthwise, so it's the same size, but half the thickness.  

Like so:


Now you'll have six pieces instead of three.  Place all your chickens between two sheets of plastic wrap.  Then get out your meat mallet, rolling pin, or big heavy can, and pound the chicken til it's nice and even and thin.  Go for around 1/2 inch at the thickest.

Yay!  Pounding chicken is fun.  Salt and pepper each piece to your liking.  

Next, you want to bread your chickens.  To do this, you want to prepare three coating stations.  You'll need three large shallow bowls (or plates, just use whatever you have).  In the first, add your flour.  Crack your egg into the second and beat with a fork.  Add about a tablespoon of water and mix it up.  In the third bowl, dump your Panko breadcrumbs.

Here is what your breading assembly line will look like:

Flour, egg, Panko.  Good.

Go ahead and heat your 1 Tbsp olive oil + 1 Tbsp butter in a large skillet over medium heat.

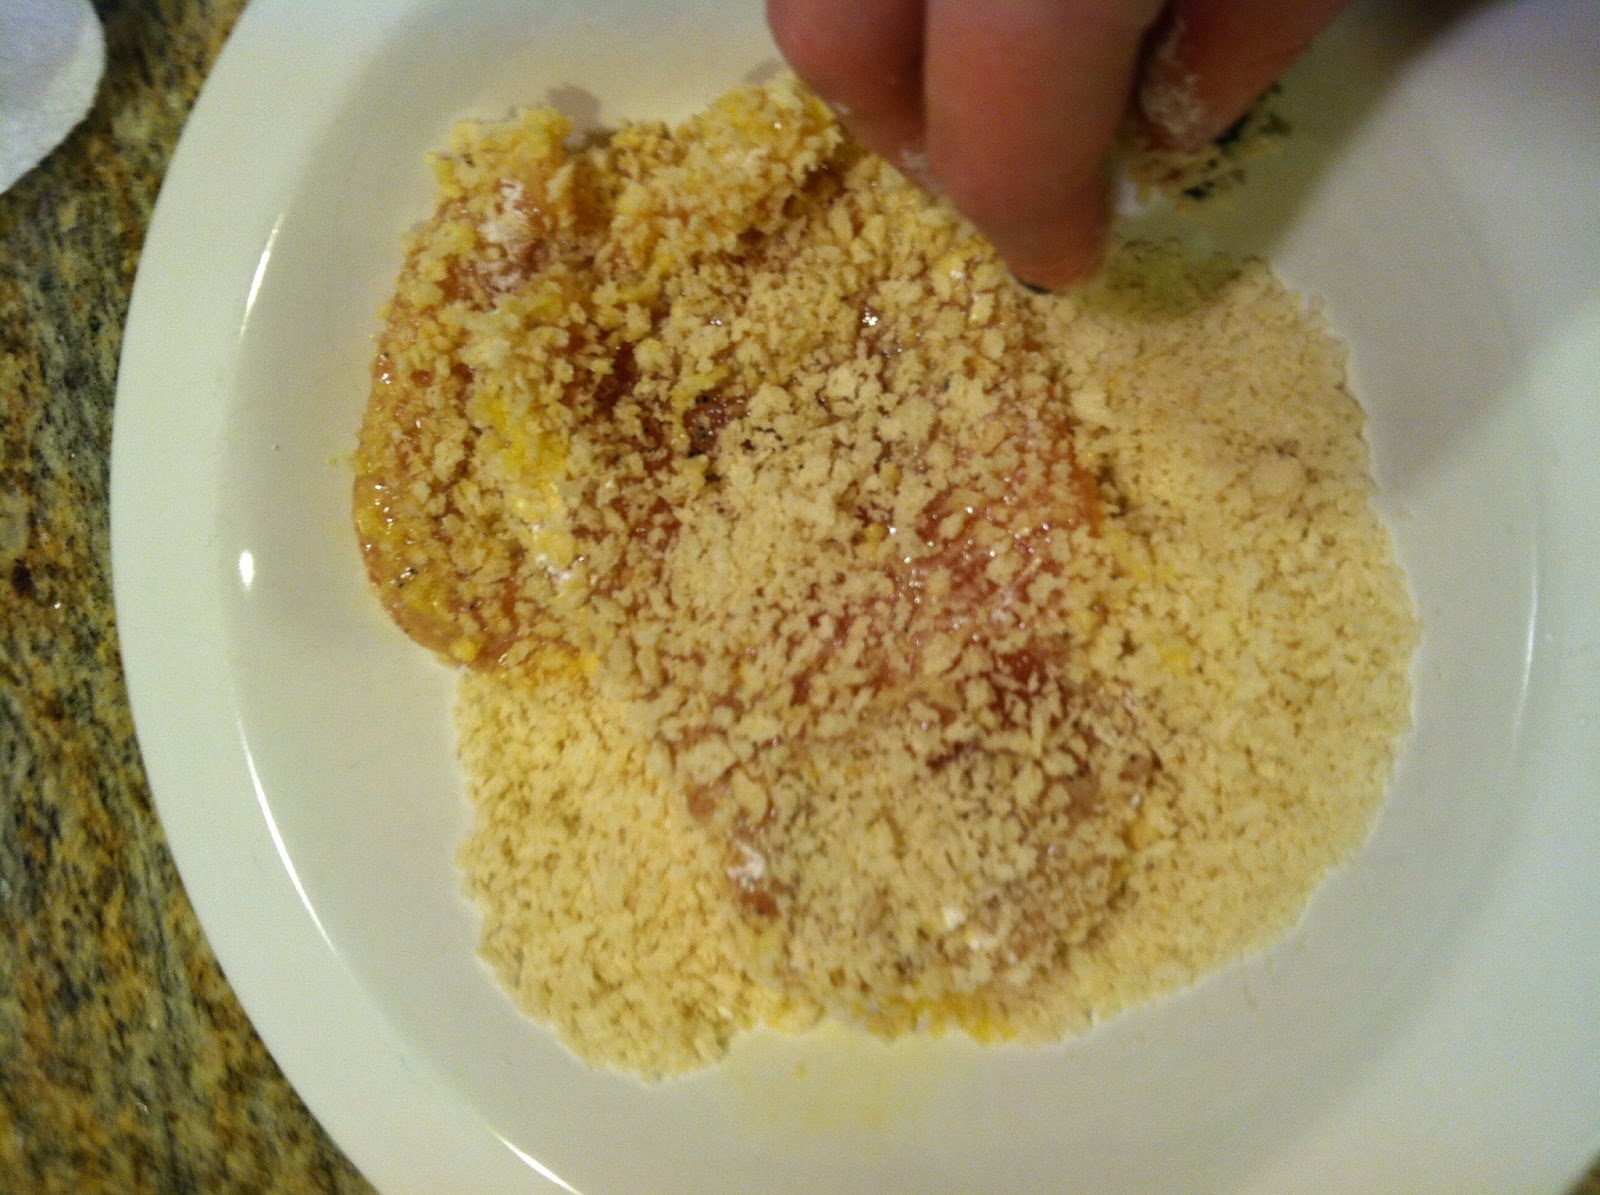
Now put your chicken through the assembly line.  First, dunk in the flour, making sure both sides get coated.

Like so:

Next, dip it in the egg:


And finally, roll it around in the Panko breadcrumbs.


Once your skillet is hot, add half your chickens to the skillet.  I am cooking mine in two batches, but feel free to do it in one if you have a monster size skillet. 


After 5 minutes or so, check to see how brown your chickens are getting on the bottom.  When they're brown enough, flip em.

Lovely!

Cook another five minutes or so until done throughout.  It shouldn't take too long since you pounded them so thin.  

Now remove the done chicken from the skillet.  Add 1 more Tbsp butter, one more Tbsp oil, and when hot and bubbly, add the other three chickens.  Cook these the same as the first batch.  Set aside when done.

Now do not clean your skillet!  Leave all the drippings/oil/butter, and keep medium heat going.  

To your skillet, add the diced onion. 


Saute for 5 minutes until getting tender and translucent.  Now add the garlic and cook another 2-3 minutes.

Next, pour in the wine.


Now it should look very purple-y.  With a wooden, flat-bottomed spatula spoon thing, deglaze the pan (scrape up all the cooked on bits from the bottom of the pan and stir it around).  Allow to simmer for 5 minutes or until it is reduced by about half.  It should look like this:


The next guest to arrive to the party pan:  Crushed tomatoes!  Add both cans. 


Yum!  Now add sugar, and salt and pepper to taste. Reduce heat to low and simmer 15-20 minutes, stirring often.  

When that's done, stir in 1/2 cup chopped parsley.


Beautiful!  It looks like Christmas and the Italian flag all in one skillet.

Next add the chickens back to the skillet.  Top with fresh grated Parmesan cheese and the rest of the parsley.  I don't have a picture of this part because sometimes I get scared that Brent's starving so I get in a hurry at the end. 

Serve each chicken over pasta and make sure to add plenty of sauce (see my recipe for fresh homemade pasta here ). 


Wednesday, February 27, 2013

Brown Sugar Bacon

Fact:  this is one of the most delicious things you'll ever make.  Of course it's delicious.  It's BACON with BROWN SUGAR!  Do two more delightful ingredients exist?  I think not. The surprising part is how easy it is to make.  Read on, my friend, and you can thank me later...

Brown Sugar Bacon


Ingredients:

7-8 slices bacon of your choice (I prefer center cut - thicker cuts work better)
1/3 cup dark brown sugar


Preheat your oven to 375.  Line a cookie sheet with foil.  Spray lightly with cooking spray.  I know this seems unnecessary, but the brown sugar makes it super sticky.  Better to be safe than sorry.


Next lay the bacon slices on the prepared cookie sheet.


Pour your brown sugar into a dish.  You can't be all digging around in your brown sugar box with your bacon-y hands.


Next, simply grab some brown sugar and rub it onto the bacon slices.


Try to coat the slices pretty thickly and evenly.


Once they're done they'll look like this:


And this:


Once all slices are coated, pop the tray into the oven.  Bake for 15-20 minutes.  I'm giving a range here because you'll have to watch it closely at the end.  Every oven is a little different.  It will also vary based on how crunchy vs chewy you like your bacon.  Mine was perfect at 18 minutes.


Nice and browned and caramelized!


As you can see, there will be some residual grease on the foil.  At this point, remove each bacon slice and lightly dab on a paper towel, then place on a clean plate.  You don't want to leave this sitting on the paper towel because it will STICK horribly.  Just trust me here, you don't want your brown sugar bacon accented with Bounty.  Lightly dab, plate, then move on with your life.


Lovely!


And if that's not good, nothing is.

Wednesday, February 13, 2013

Homemade Pasta

I was talking to my sister on the phone last night.  I told her I made pasta from scratch on Saturday.  Her response was this: "why?"  Why, indeed.  Well, here's why:
  • I had never made it before and wanted to try it
  • I had nothing better to do, except for clean the house (boo)
  • I already had the ingredients on hand (there are only two for heaven's sake)
  • I have always heard it is soooo much better than regular dried pasta
  • It didn't seem too difficult
So there you have it Rachel. That's why!

And the verdict?  It was well worth it.  Brent said so.

Of course I will always, always, always keep varying degrees of store-bought dried pasta on hand and use that when I'm in a hurry (which is most of the time).  But when I have the time, you better believe I'll just make my own.  Maybe you'll do the same next Saturday when you're looking for something to prevent you from having to do your housework.  Pasta making beats housework every time, trust me. 

Homemade Pasta


Ingredients:

1.5 cups All-Purpose Flour
3 Eggs


Note:  this makes enough to serve 4, so you can adjust the recipe depending on how many you're serving.  Use the ratio of 1 egg per 1/2 cup of flour.


Measure flour into large mixing bowl.  Dig a little well in the center of your flour.  Crack your eggs into the well.


With your clean hand, poke the yolks to break, and start mixing...


And mixing...


And soon it will look like a giant mess, like so:


But keep on mixing with your hands until a sticky dough forms.


On a floured surface, knead the dough until it's smooth and no longer tacky-looking.  It will probably take 10 minutes or so. 

Here's how it will look at first:


Still tacky, not done yet. Keep kneading.


Here's how it will look when you're done.


Then stick in a ziplock bag and leave on your countertop.  Allow dough to rest at least 30 minutes.

When it's pasta-makin time, get your dough back out onto your floured surface.  I just used my countertop.


Now roll it thin, thin, thin.


Get it as thin as you can.  You want to be able to see through it a little bit.


Once it's rolled super thin, grab your cutting device of choice.  Some people use a pizza roller, but I feel like I have better control using my very sharp pink chef's knife.  Now I'm not totally sure the pink part matters, but it certainly doesn't hurt.

Cut your noodles into thin strips.  Remember, the pasta will swell when it takes a dip in the boiling water, so cut it smaller than you want it to end up.


Kinda like this.


Very carefully...


Keep on cutting...this is the part that requires me to summon all the patience in my entire body.  Spending 10 minutes cutting pasta into tiny strips is just about all that I can handle.

Brent is very patient.  I should get him to do this part next time...he would probably get out his tape measure and they would be perfectly uniform and tiny the next morning when he finally finished.  Nevermind, I'll just do it.


Done!  Finally!

Now, bring your water to a boil in a large stock pot.  I don't know how much, just guess.  Enough to cook however much pasta you made.  Salt the water generously.  Once it's boiling, add the pasta.


Boil two minutes.  Drain and serve immediately.


And there you have it.  Real, live, homemade pasta.  And it didn't even take all day.  Serve with your favorite meat sauce, alfredo, or with Chicken Parmesan that looks like THIS!


Boom!  Glorious.

Recipe coming soon!