Overnight oats are a delicious and healthy way to start the day. They are very versatile, and once you learn the method, you can customize them any way you choose. Another benefit: they come together in less than five minutes. I actually prefer this style of oats to regular, cooked, hot oatmeal now. Overnight oats are creamy, and instead of being mushy, these are more...chewy...or something.
Note: This recipe makes one large serving. If you'd like to make more or less, you can customize easily. Just keep the 1:1 oats to milk ratio.
Berry Vanilla Overnight Oats
Ingredients:
2/3 cup Old Fashioned Oats (don't use quick cooking)
2/3 cup almond milk
1/2 Tbsp chia seeds
dash of salt
1/4 tsp vanilla extract
1/2 cup frozen mixed berries, thawed (or fresh)
1 Tbsp brown sugar or other sweetener (optional)
The night before...
In a resealable bowl with a lid combine the oats, chia seeds, and salt.
Now add in almond milk and vanilla. Stir to combine.
Cover and refrigerate over night.
Good night, little oaties!
The next morning at breakfast time, you'll see the mixture has thickened up considerably. The oats have absorbed all the liquid, and the chia seeds give it a creamy and thick consistency.
You can definitely go ahead and eat it like this, but it's just a little thick for my preference. I like to add some brown sugar at this point to sweeten the mix, and also another splash of almond milk.
Stir in the milk and sugar. Now spoon your berries on top.
Yummy! There you have it. Berry Vanilla Overnight Oats!
Enjoy!
Labels
- Appetizers (2)
- Asian (1)
- Bread (1)
- Breakfast (6)
- Cajun (1)
- Casseroles (3)
- Crock Pot (3)
- Extras (3)
- Grilling (1)
- Home & Garden (1)
- Italian (8)
- Lunch (2)
- Mexican (2)
- Restaurant Recreations (6)
- Seafood (2)
- Side Dishes (2)
- Soup (5)
- Southern Classics (6)
Showing posts with label Breakfast. Show all posts
Wednesday, August 28, 2013
Wednesday, February 27, 2013
Brown Sugar Bacon
Fact: this is one of the most delicious things you'll ever make. Of course it's delicious. It's BACON with BROWN SUGAR! Do two more delightful ingredients exist? I think not. The surprising part is how easy it is to make. Read on, my friend, and you can thank me later...
Brown Sugar Bacon
Ingredients:
7-8 slices bacon of your choice (I prefer center cut - thicker cuts work better)
1/3 cup dark brown sugar
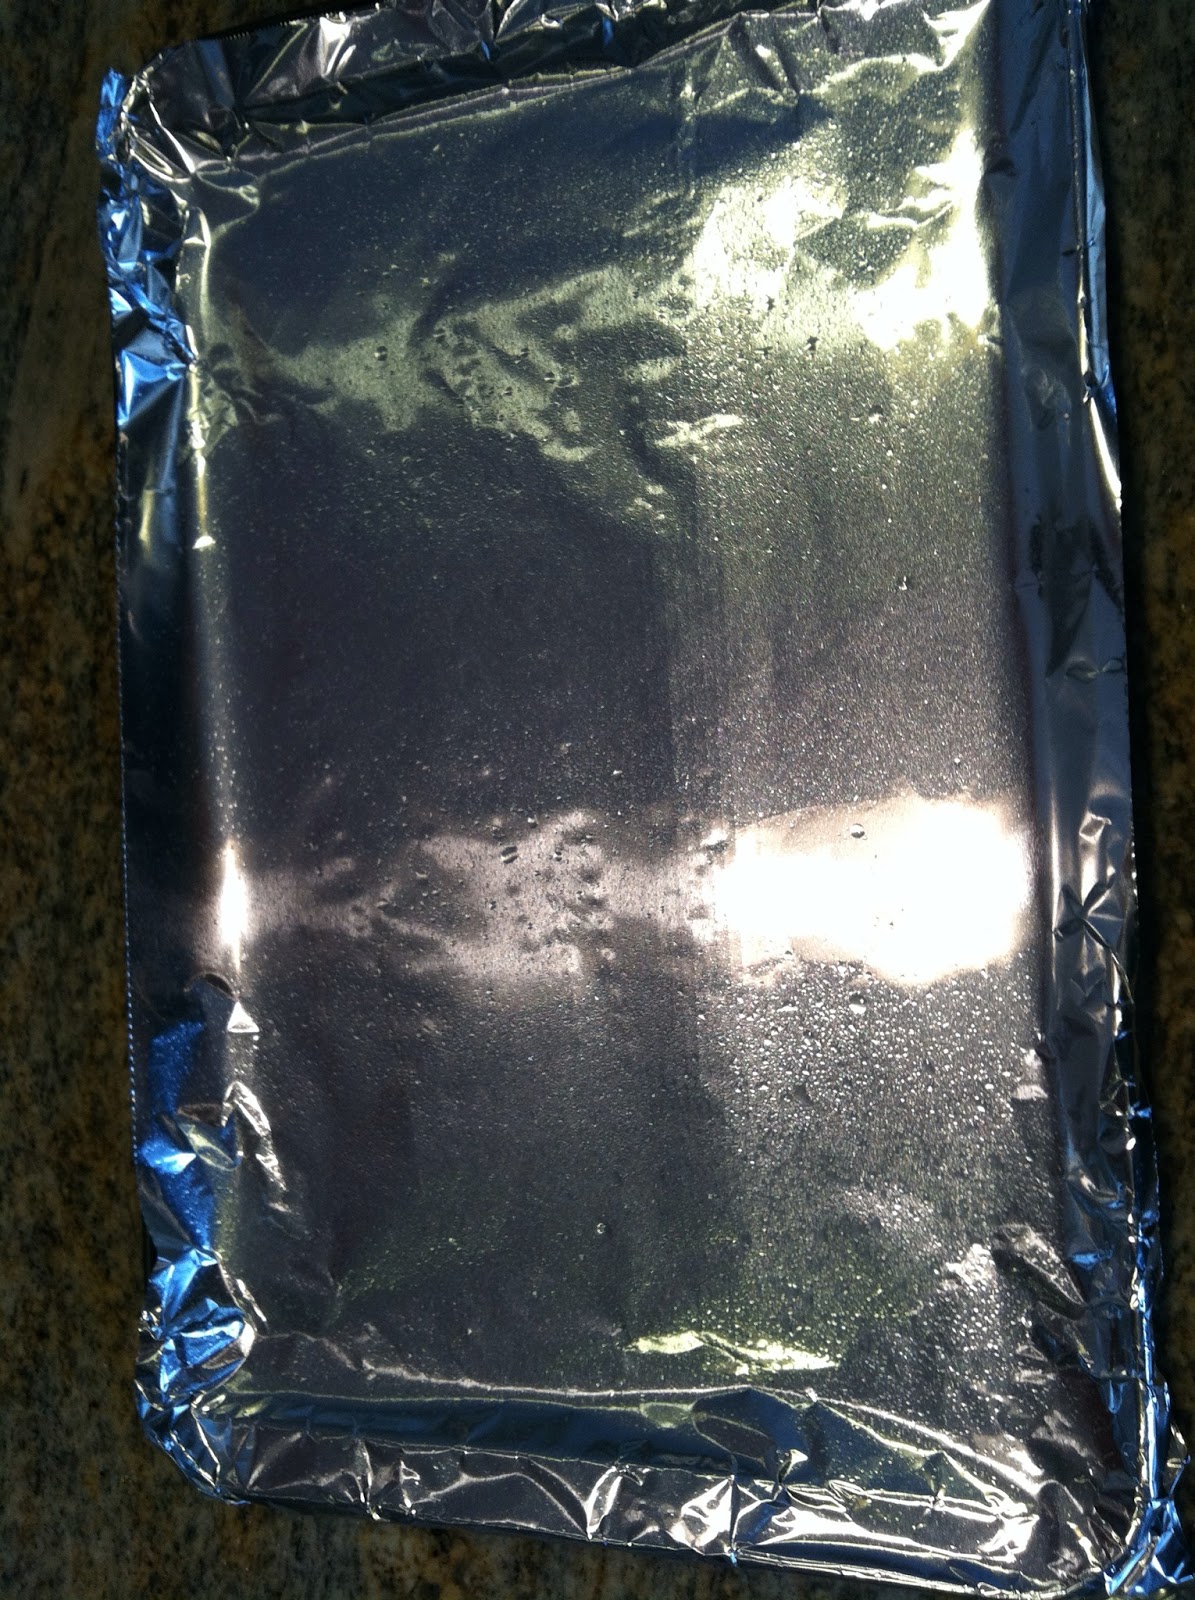
Preheat your oven to 375. Line a cookie sheet with foil. Spray lightly with cooking spray. I know this seems unnecessary, but the brown sugar makes it super sticky. Better to be safe than sorry.
Next lay the bacon slices on the prepared cookie sheet.
Pour your brown sugar into a dish. You can't be all digging around in your brown sugar box with your bacon-y hands.
Next, simply grab some brown sugar and rub it onto the bacon slices.
Try to coat the slices pretty thickly and evenly.
Once they're done they'll look like this:
And this:
Once all slices are coated, pop the tray into the oven. Bake for 15-20 minutes. I'm giving a range here because you'll have to watch it closely at the end. Every oven is a little different. It will also vary based on how crunchy vs chewy you like your bacon. Mine was perfect at 18 minutes.
Nice and browned and caramelized!
As you can see, there will be some residual grease on the foil. At this point, remove each bacon slice and lightly dab on a paper towel, then place on a clean plate. You don't want to leave this sitting on the paper towel because it will STICK horribly. Just trust me here, you don't want your brown sugar bacon accented with Bounty. Lightly dab, plate, then move on with your life.
Lovely!
And if that's not good, nothing is.
Brown Sugar Bacon
Ingredients:
7-8 slices bacon of your choice (I prefer center cut - thicker cuts work better)
1/3 cup dark brown sugar
Preheat your oven to 375. Line a cookie sheet with foil. Spray lightly with cooking spray. I know this seems unnecessary, but the brown sugar makes it super sticky. Better to be safe than sorry.
Next lay the bacon slices on the prepared cookie sheet.
Pour your brown sugar into a dish. You can't be all digging around in your brown sugar box with your bacon-y hands.
Next, simply grab some brown sugar and rub it onto the bacon slices.
Try to coat the slices pretty thickly and evenly.
Once they're done they'll look like this:
And this:
Once all slices are coated, pop the tray into the oven. Bake for 15-20 minutes. I'm giving a range here because you'll have to watch it closely at the end. Every oven is a little different. It will also vary based on how crunchy vs chewy you like your bacon. Mine was perfect at 18 minutes.
Nice and browned and caramelized!
Lovely!
And if that's not good, nothing is.
Sunday, January 27, 2013
Vanilla Almond Granola Bars
After doing egg muffins for breakfast the last two weeks in a row, I'm ready for something different. So here is my latest breakfast adventure: homemade granola bars! The great thing about these is they are totally customizable. You can use any kind of cereal here. I just used the Chex because that's what I had, but feel free to use anything you want, from Grapenuts to Lucky Charms. You could also switch up the almonds and pecans for walnuts, pistachios, or whatever kind of nut you're into. Follow the method, but switch out the ingredients for whatever you've got in your pantry.
The key is to incorporate ingredients with varying textures. The big cereal squares and almond chunks contrast beautifully with the little bitty flax seeds and the finely chopped pecans. That, my friends, is what makes a gourmet granola bar. They're crunchy and sweet and toasty and pretty much everything you could ever want. At least in a granola bar.
Vanilla Almond Granola Bars
Ingredients:
3 cups old fashioned oats
2 cups Rice Chex cereal, kinda crushed
1/4 cup flax seeds
2 Tbsp butter
1 Tbsp vegetable oil
1/2 tsp salt
1/2 cup dark brown sugar
1/3 cup molasses
2 Tbsp water
1/3 cup honey
1 & 1/2 tsp vanilla extract
1/4 cup chopped pecans
1/2 cup plain almonds, roughly chopped
Preheat oven to 350. Line a cookie sheet with foil.
In a large microwave-safe mixing bowl, melt butter. Once melted, add the oil and the salt.
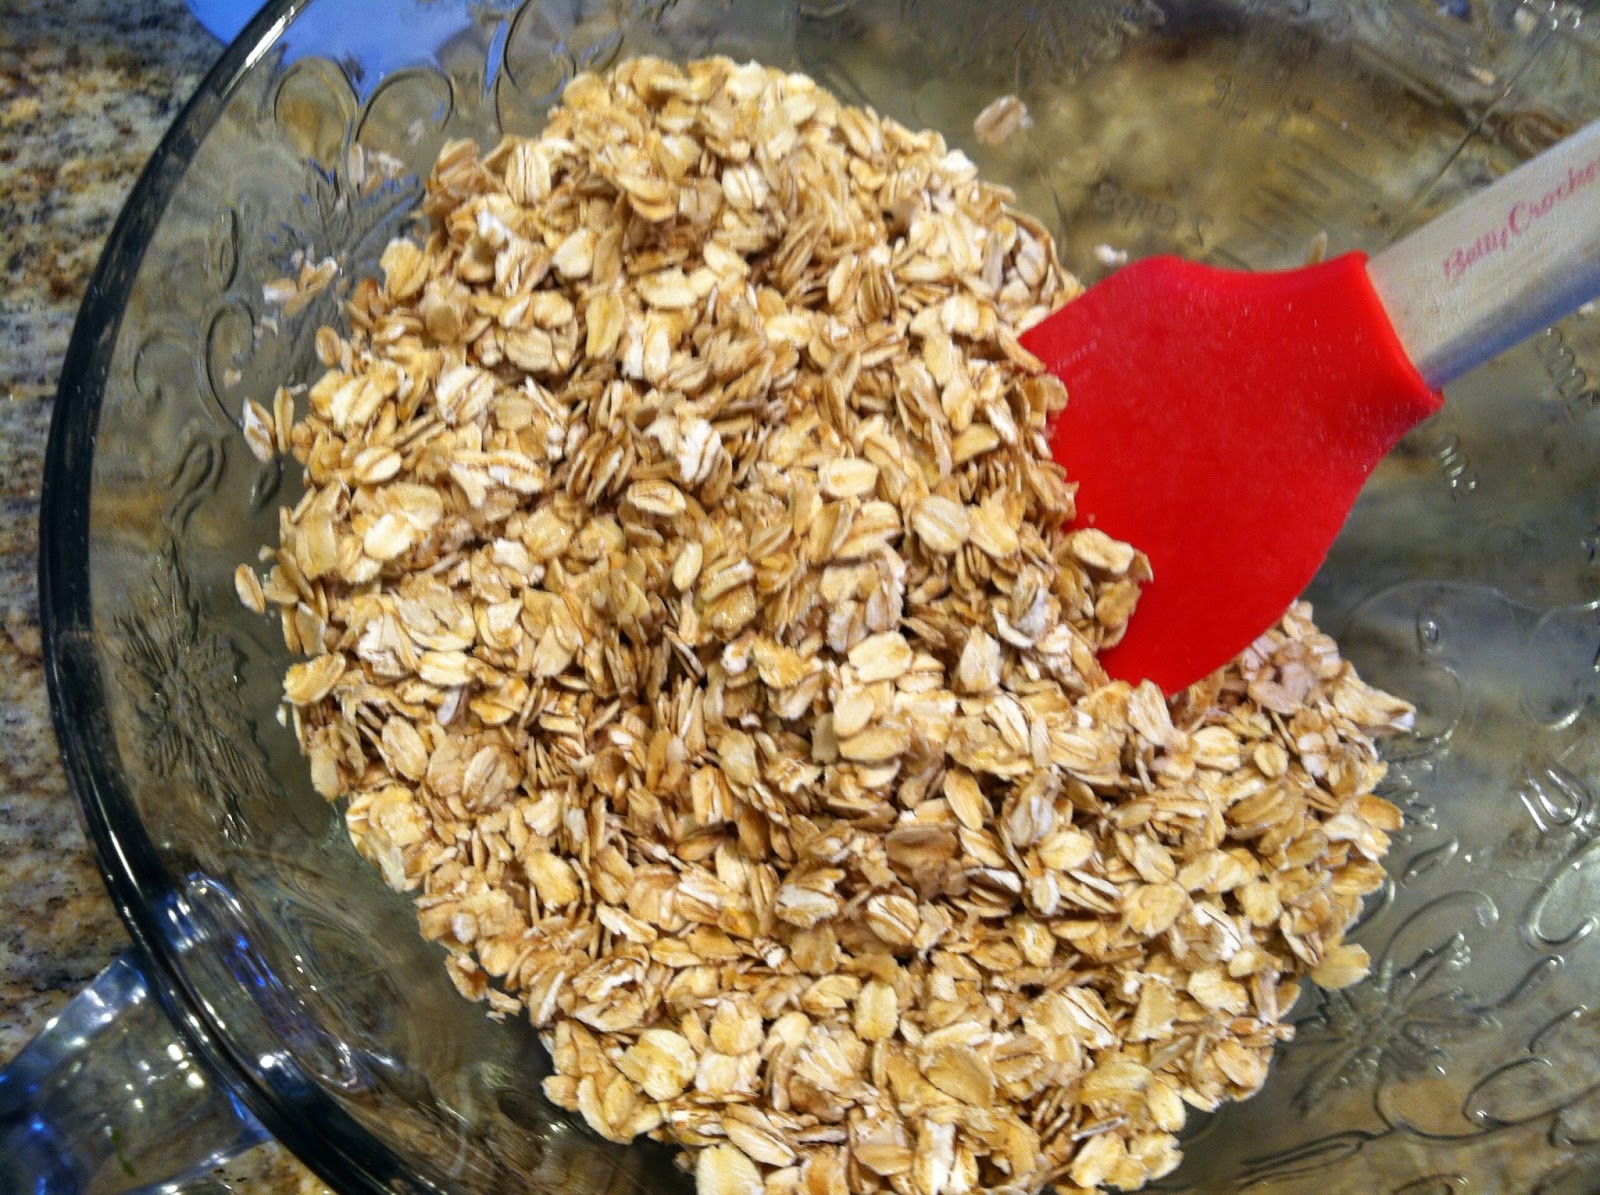
To the butter/oil mixture, add the oats. Toss to coat.
Spread the oats evenly on the cookie sheet.
Bake for 18-20 minutes, stirring twice to keep from burning. Reduce oven temp to 325. Save your foil, and now spritz it with non-stick spray.
In a small saucepan over medium heat, combine brown sugar, molasses, water, and honey. Stir often. Bring to a boil, then remove from heat. Stir in vanilla.
Now chop the almonds and pecans. For the pecans, you want a finer chop, and the almonds, you want a rougher chop. Ain't nothin wrong with finding an entire almond in your granola bar.
That just sounded like Honey Boo Boo.
Anyhoo, here is pre-chop:
And post chop:
Grab your large mixing bowl again. To the bowl, add your cereal and flax seeds.
Then add the nuts.
Next add all the toasted oats. Stir to combine.
Now pour your brown sugar and molasses mixture over the top.
Toss to coat evenly. It should be sticky, and will look like this:
Now dump it all onto your prepared, foil-lined cookie sheet.
Press along edges evenly. You can see that I didn't take it all the way to the right edge so that it would make thicker bars.
Bake at 325 for 20 minutes, or until just getting golden.
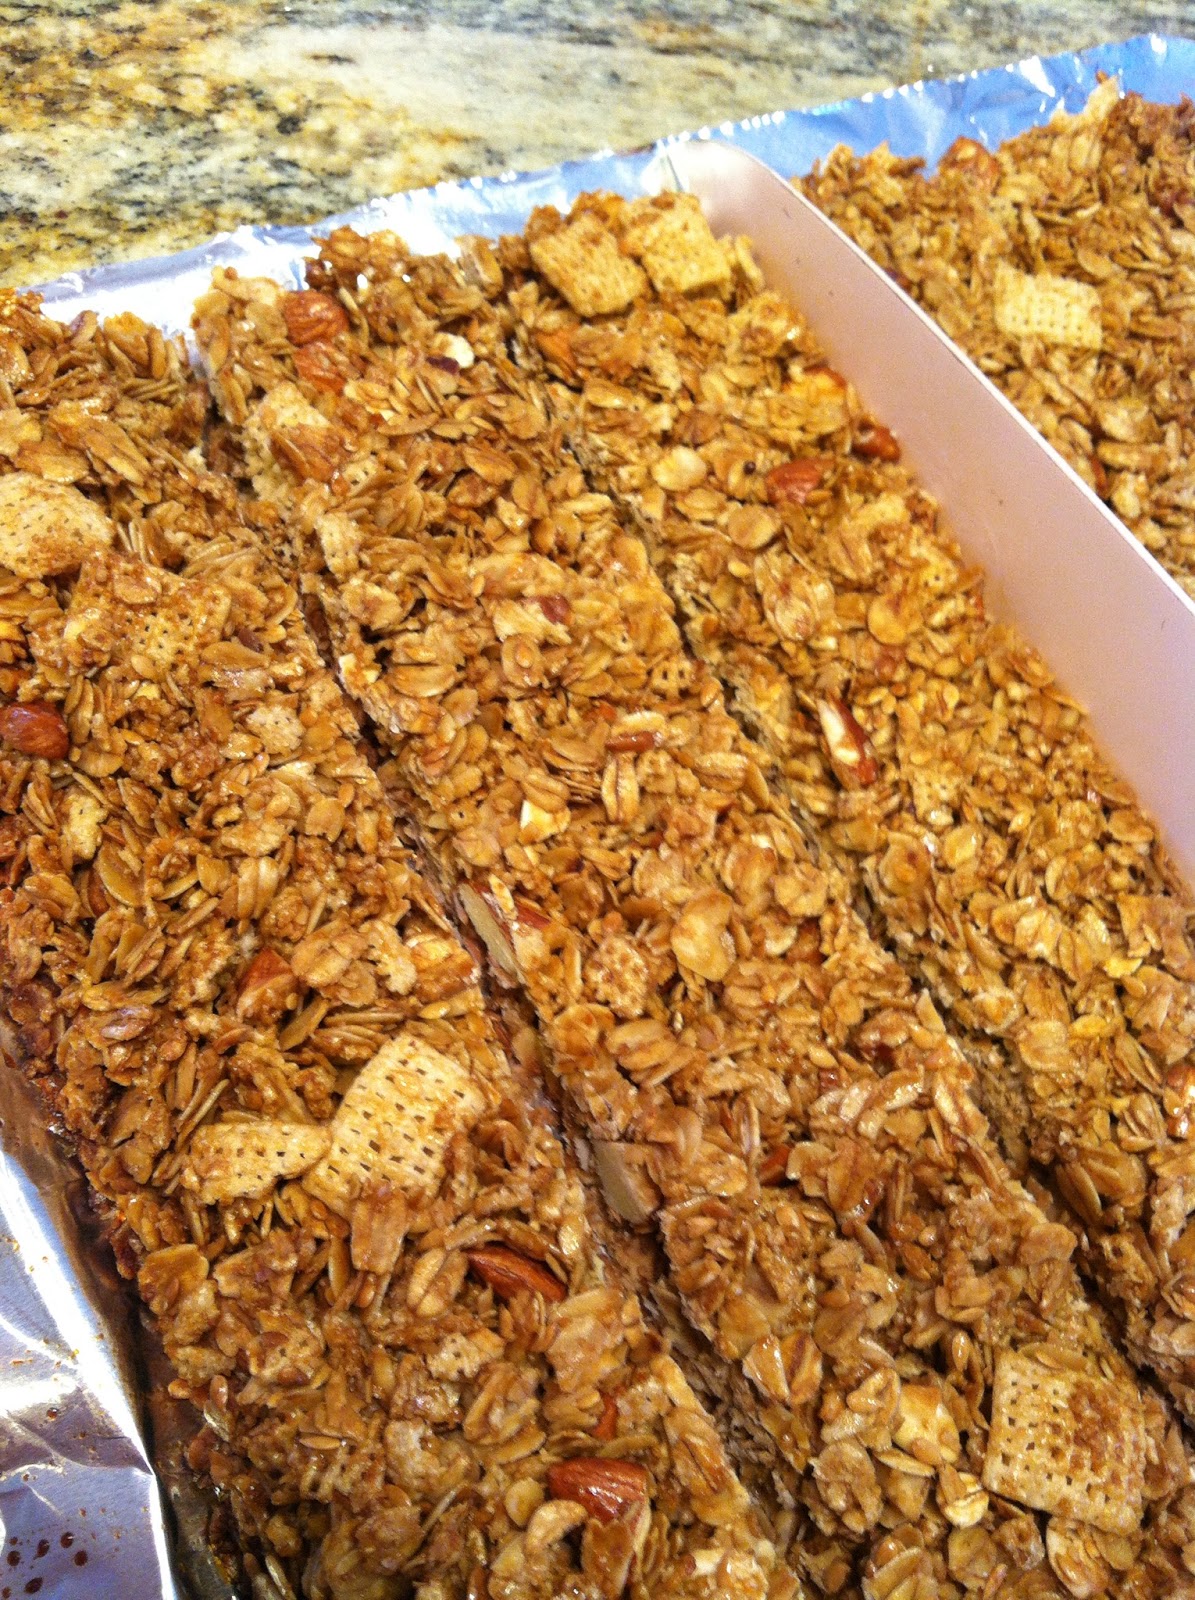
Allow to cool completely. Cut into bars or squares, or you can crumble it.
Store in zip top bags or air tight food containers. Enjoy!
The key is to incorporate ingredients with varying textures. The big cereal squares and almond chunks contrast beautifully with the little bitty flax seeds and the finely chopped pecans. That, my friends, is what makes a gourmet granola bar. They're crunchy and sweet and toasty and pretty much everything you could ever want. At least in a granola bar.
Vanilla Almond Granola Bars
Ingredients:
2 cups Rice Chex cereal, kinda crushed
1/4 cup flax seeds
2 Tbsp butter
1 Tbsp vegetable oil
1/2 tsp salt
1/2 cup dark brown sugar
1/3 cup molasses
2 Tbsp water
1/3 cup honey
1 & 1/2 tsp vanilla extract
1/4 cup chopped pecans
1/2 cup plain almonds, roughly chopped
Preheat oven to 350. Line a cookie sheet with foil.
In a large microwave-safe mixing bowl, melt butter. Once melted, add the oil and the salt.
To the butter/oil mixture, add the oats. Toss to coat.
Spread the oats evenly on the cookie sheet.
Bake for 18-20 minutes, stirring twice to keep from burning. Reduce oven temp to 325. Save your foil, and now spritz it with non-stick spray.
In a small saucepan over medium heat, combine brown sugar, molasses, water, and honey. Stir often. Bring to a boil, then remove from heat. Stir in vanilla.
Now chop the almonds and pecans. For the pecans, you want a finer chop, and the almonds, you want a rougher chop. Ain't nothin wrong with finding an entire almond in your granola bar.
That just sounded like Honey Boo Boo.
Anyhoo, here is pre-chop:
And post chop:
Grab your large mixing bowl again. To the bowl, add your cereal and flax seeds.
Then add the nuts.
Next add all the toasted oats. Stir to combine.
Now pour your brown sugar and molasses mixture over the top.
Toss to coat evenly. It should be sticky, and will look like this:
Now dump it all onto your prepared, foil-lined cookie sheet.
Press along edges evenly. You can see that I didn't take it all the way to the right edge so that it would make thicker bars.
Bake at 325 for 20 minutes, or until just getting golden.
Allow to cool completely. Cut into bars or squares, or you can crumble it.
Store in zip top bags or air tight food containers. Enjoy!
Saturday, January 26, 2013
Ham & Cheese Breakfast Puffs
On Tuesday night, we were having a friend over, so naturally I made a 9 pound ham for dinner. For three people. Now that may seem like too much ham to you, but is there really such a thing? I say no. In my defense, it was the smallest ham Publix had, and I was not about to do something totally inconvenient like go across the street to Kroger to see what hams they had. So anyway, back to my big huge ham. Studded with cloves and glazed with brown sugar and honey, it was magnificent.
But as you may have guessed, I have a lot of ham on my hands. I reserved some in the fridge for our dinner the rest of the week. I froze most of it in one pound blocks, and of course I saved the bone. Just wait til the summer. My green beans will be the bomb thanks to this very ham bone. But there was a little ham left in the fridge this morning that needed to be used. So I decided it must somehow become breakfast. After I discovered I had a puff pastry sheet in the freezer, this idea came to me. Ham and cheese breakfast puffs! I made it up as I went. And it was good. So here it is, for your eating pleasure.
When you pop this in the oven, the cheese melts and the ham caramelizes with the onion and the pastry puffs and browns...it's just wonderful. If having too much ham is wrong, I don't want to be right.
Ham & Cheese Breakfast Puffs
Ingredients:
1 puff pastry sheet
1 cup shredded extra sharp cheddar
3/4 cup diced ham
1/4 cup diced sweet onion
1 egg
Preheat oven to 400. Cover a cookie sheet with parchment paper and then spritz with nonstick spray. Dice 1/4 cup of onion, which was about 1/4 of a medium onion for me.
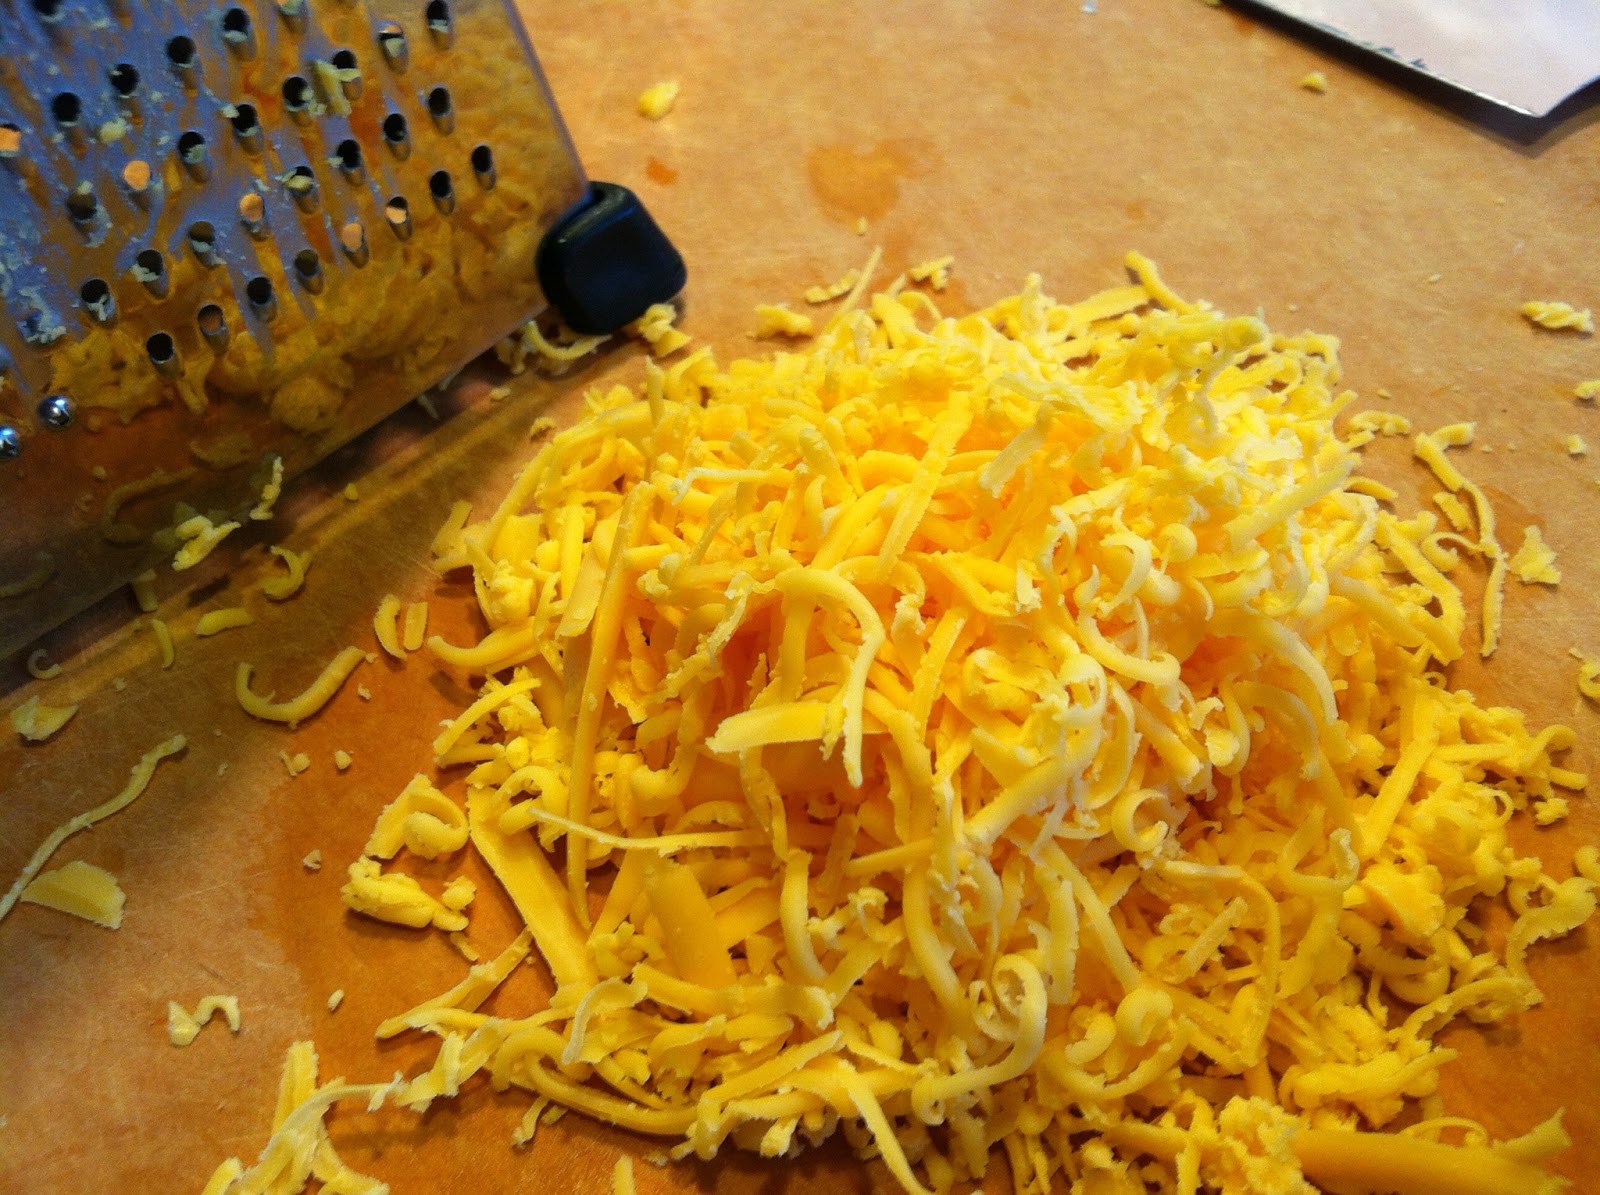
Next, shred your cheese. I shredded some using the medium grate, and some using the fine.
Trim any fat off the ham. Here's what my ham looked like pre-dice:
Here's post-dice:
At this point, I determined that my dough quarters weren't going to be big enough to accommodate my fillings. So I rolled them out to make each a little bigger and thinner.
You can't tell from the picture but I swear they are much bigger now. OK, so now spoon on your ham and cheese filling. Try to put most of it in the bottom left corner of each pastry square. This will help when you fold them over.
Now use a fork to press and seal your edges.
Now place each pastry onto prepared baking sheet. In a small bowl, beat egg with 1 Tbsp of water. Brush the top of each pastry with the egg.
Cut a little slit in each one for air to escape. Here's what they look like:
Now place in the oven and bake 18 minutes or until golden and puffy and beautiful! Here's what they look like when they're done. Yay!
Serve immediately. Enjoy!
But as you may have guessed, I have a lot of ham on my hands. I reserved some in the fridge for our dinner the rest of the week. I froze most of it in one pound blocks, and of course I saved the bone. Just wait til the summer. My green beans will be the bomb thanks to this very ham bone. But there was a little ham left in the fridge this morning that needed to be used. So I decided it must somehow become breakfast. After I discovered I had a puff pastry sheet in the freezer, this idea came to me. Ham and cheese breakfast puffs! I made it up as I went. And it was good. So here it is, for your eating pleasure.
When you pop this in the oven, the cheese melts and the ham caramelizes with the onion and the pastry puffs and browns...it's just wonderful. If having too much ham is wrong, I don't want to be right.
Ham & Cheese Breakfast Puffs
Ingredients:
1 puff pastry sheet
1 cup shredded extra sharp cheddar
3/4 cup diced ham
1/4 cup diced sweet onion
1 egg
Preheat oven to 400. Cover a cookie sheet with parchment paper and then spritz with nonstick spray. Dice 1/4 cup of onion, which was about 1/4 of a medium onion for me.
Next, shred your cheese. I shredded some using the medium grate, and some using the fine.
Trim any fat off the ham. Here's what my ham looked like pre-dice:
Here's post-dice:
Combine your onion, ham, and cheese in a mixing bowl.
On a floured surface, spread out your dough. Cut into 4 equal sections.
You can't tell from the picture but I swear they are much bigger now. OK, so now spoon on your ham and cheese filling. Try to put most of it in the bottom left corner of each pastry square. This will help when you fold them over.
Next, fold the top right corner of each square over the fillings so that the edges meet.
Now place each pastry onto prepared baking sheet. In a small bowl, beat egg with 1 Tbsp of water. Brush the top of each pastry with the egg.
Cut a little slit in each one for air to escape. Here's what they look like:
Now place in the oven and bake 18 minutes or until golden and puffy and beautiful! Here's what they look like when they're done. Yay!
Serve immediately. Enjoy!
Subscribe to:
Posts (Atom)